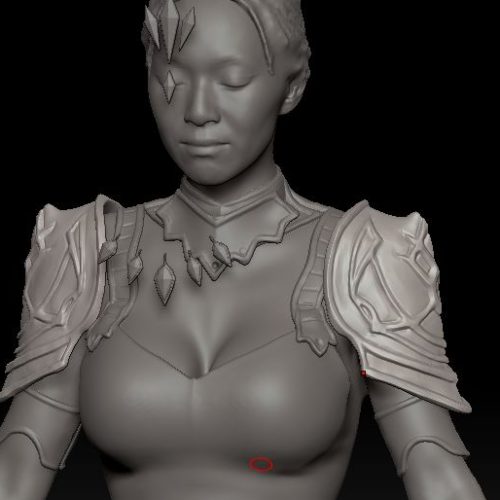
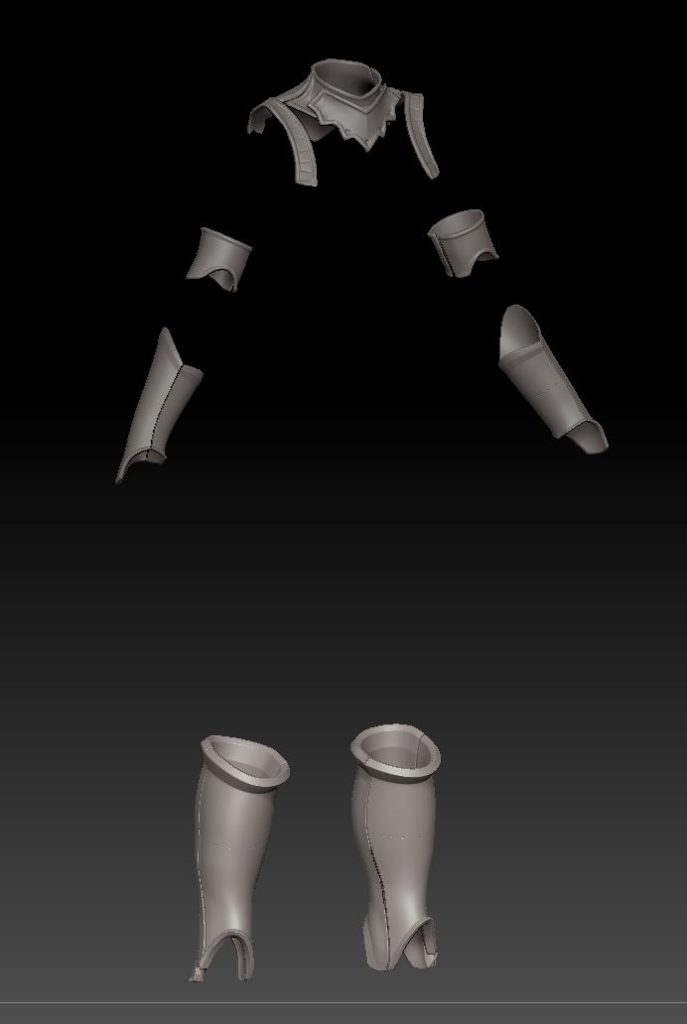
Armor construction of Velkhana began in the real world, we started this project by getting a 3D scan of Vampybitme at a local 3D scanning facility in Long Beach called Rapid Scan 3D. Rapid Scan 3D offers offers sales of high end Altec and other name brand 3D scanning software and equipment.
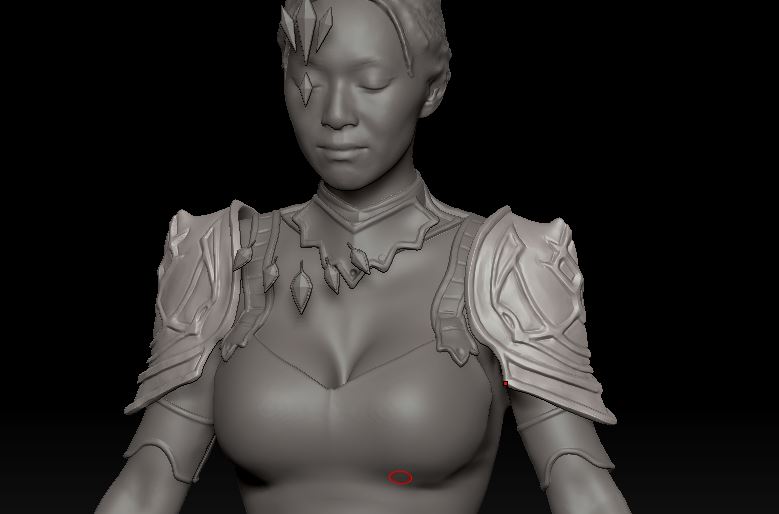
After getting the 3D scan we used a masking and extraction technique in Pixologic’s Zbrush digital sculpting software to create rough 3D models of the base forms which we could then manipulate into the correct shape and finally sculpt.
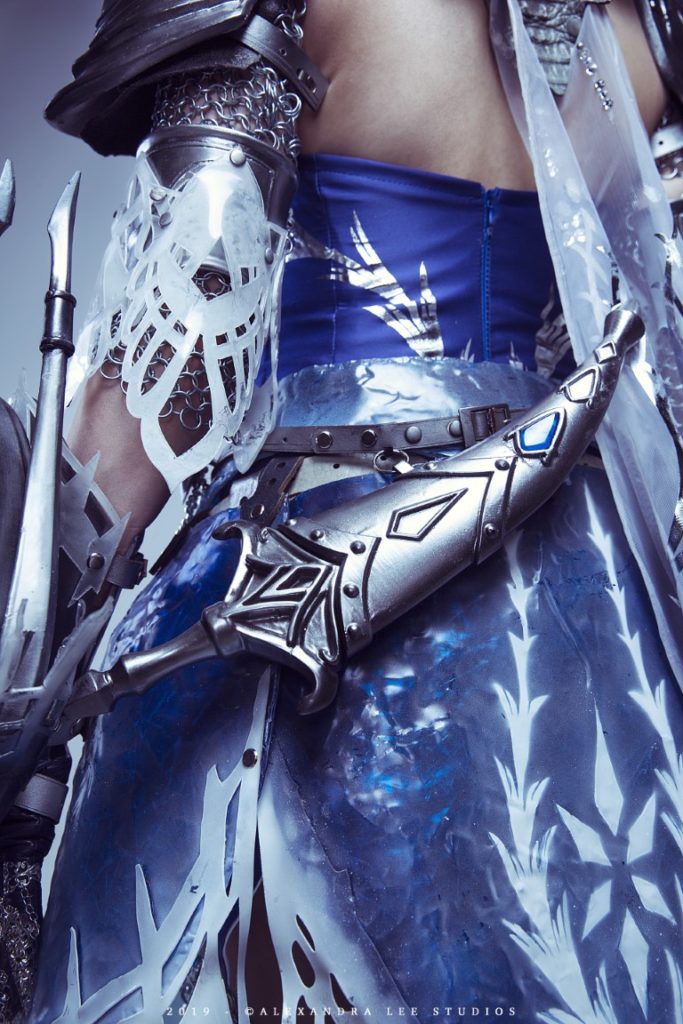
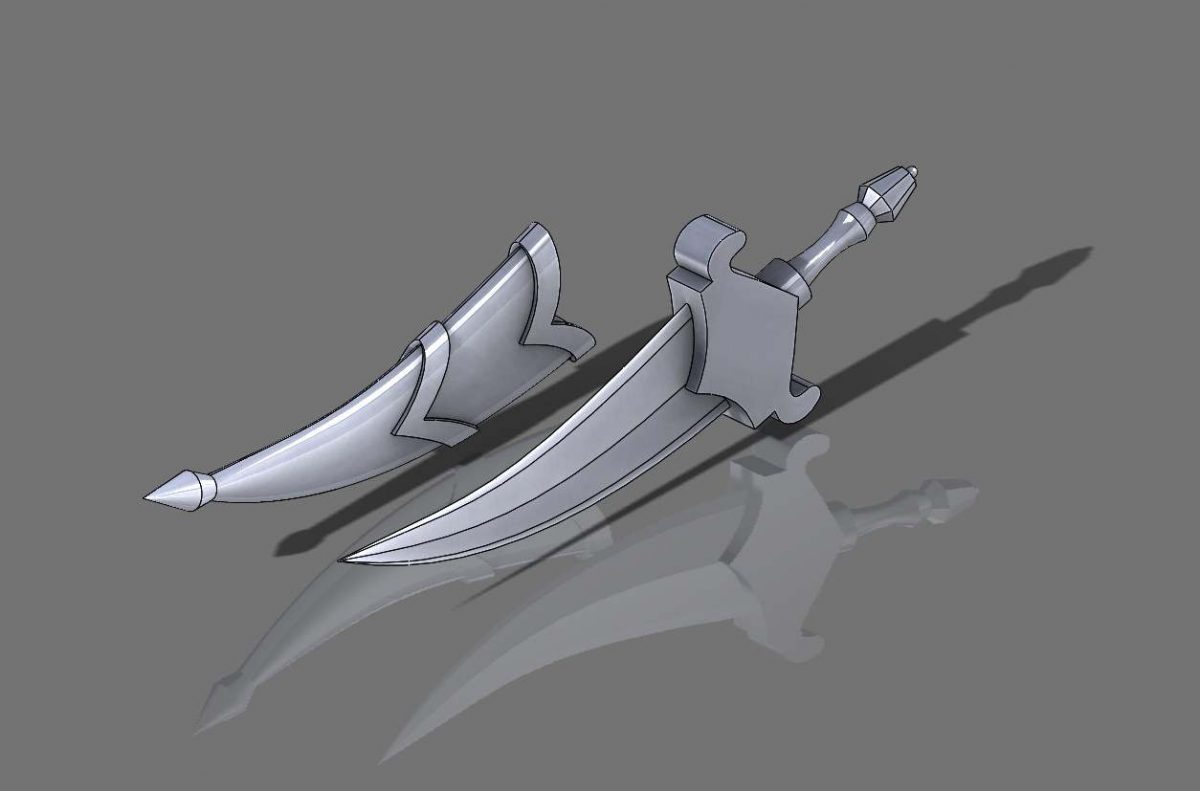
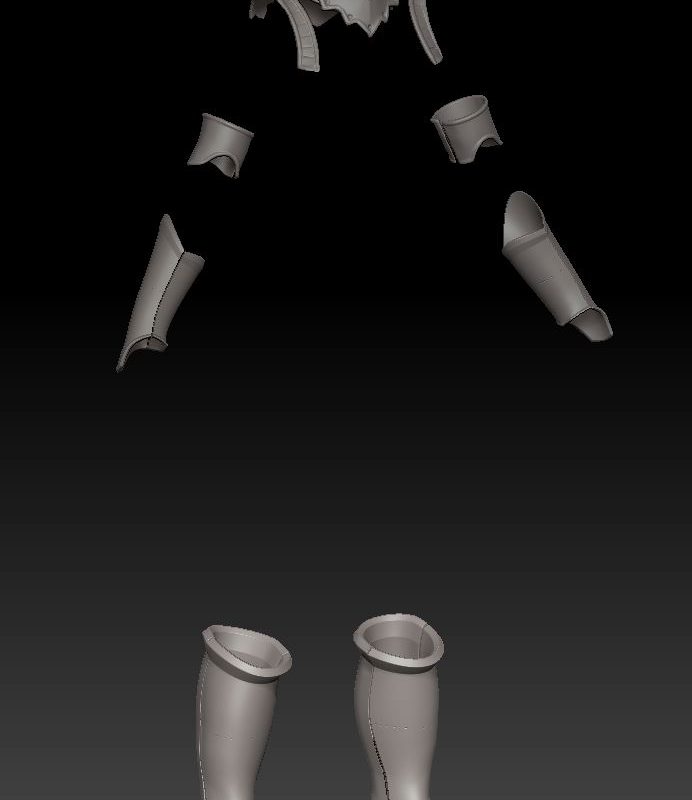
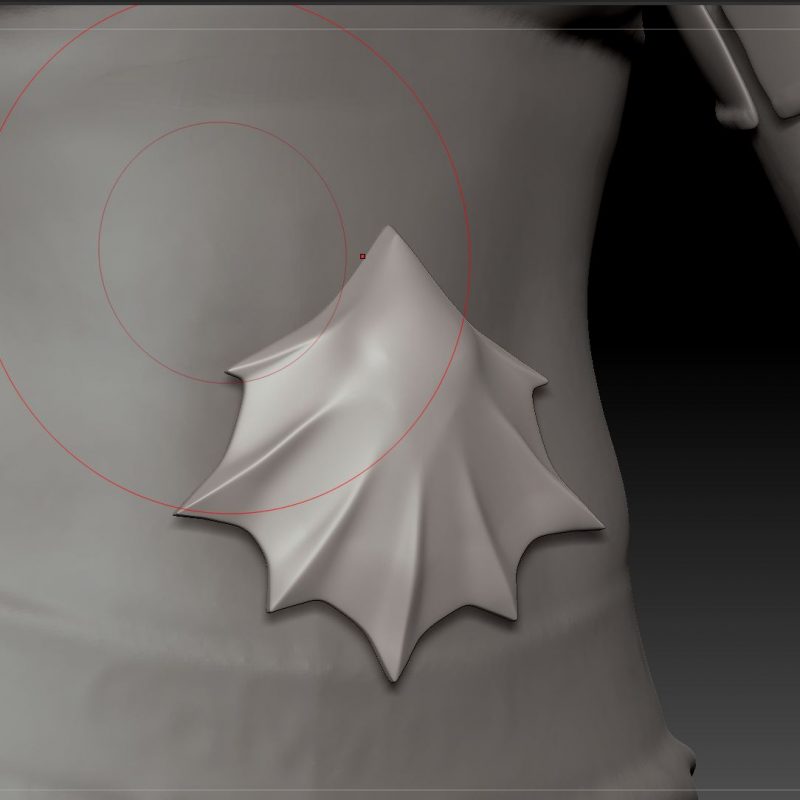
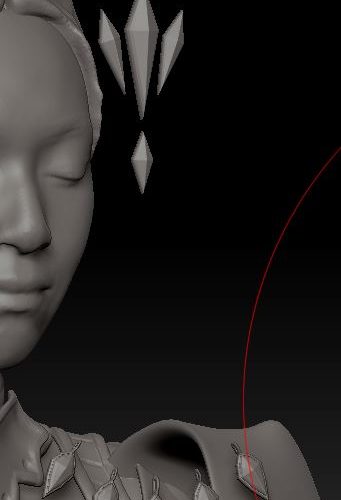
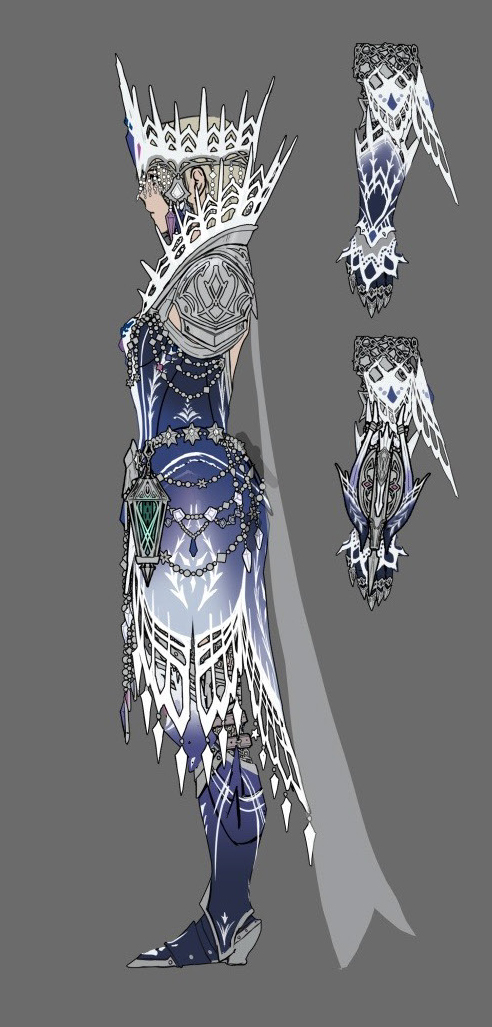
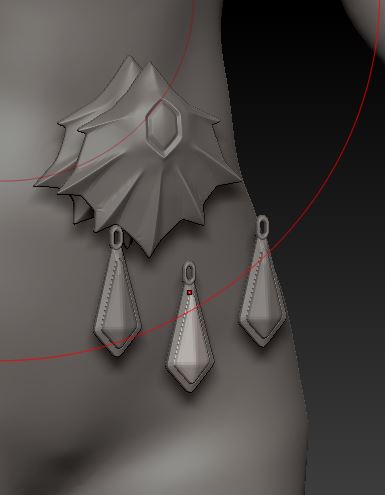
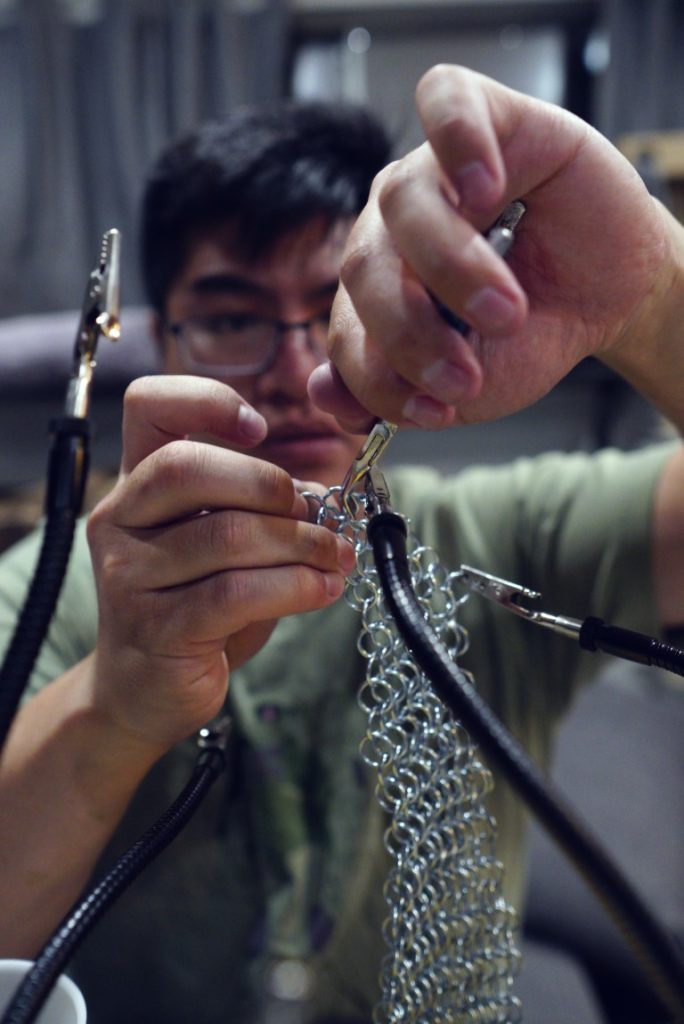
3d Modelling The accessories
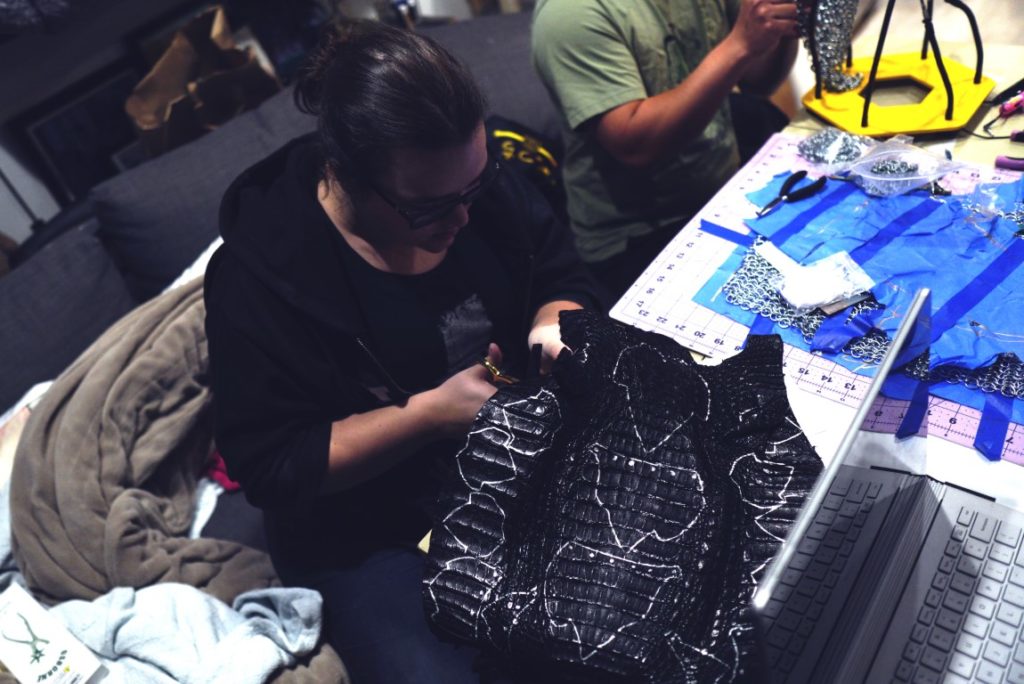
We wanted the cloak to have a heavy weight to it, on top of that Zach had a very specific color in mind for the fabric pieces. We went with an undyed heavy weave linen fabric and used 3 different color dyes to achieve the correct color.
In the concept art the cloak itself was not only tattered, it looked singed and on fire. Chad really wanted to incorporate that into the cloak somehow. After brain storming for a few days, he came up with the idea to sew fiber optics into the “inner” layer of the cloak. We ended up going with two different sizes and I sewed them into the cloak one at a time. We ended up with over one hundred fiber optics running throughout the inner part of the cloak.
But we didn’t stop there, with fire comes smoke right? We were already making a ton of small smoke machines for the armor, so we went ahead with making two more for the cloak. We ran small silicone tubing along the inner cloak and put holes through out the tube so the smoke would release slowly.
Once that was complete, the inner cloak was then sandwiched in the outer cloak. Once everything was sewn together and closed we weathered the bottom and at last the cloak was completed.
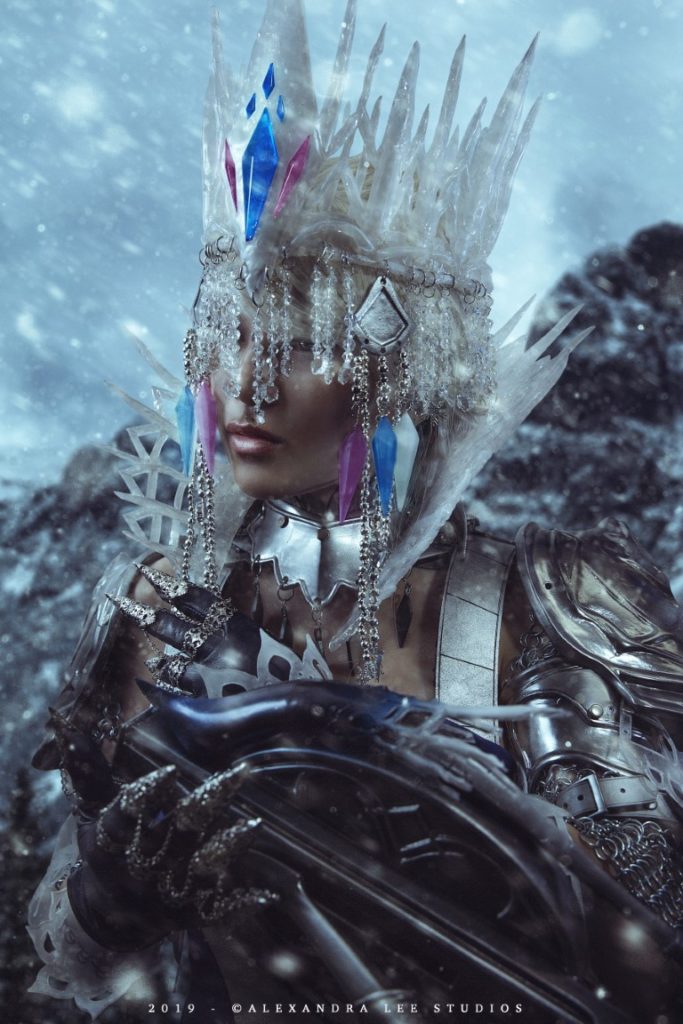
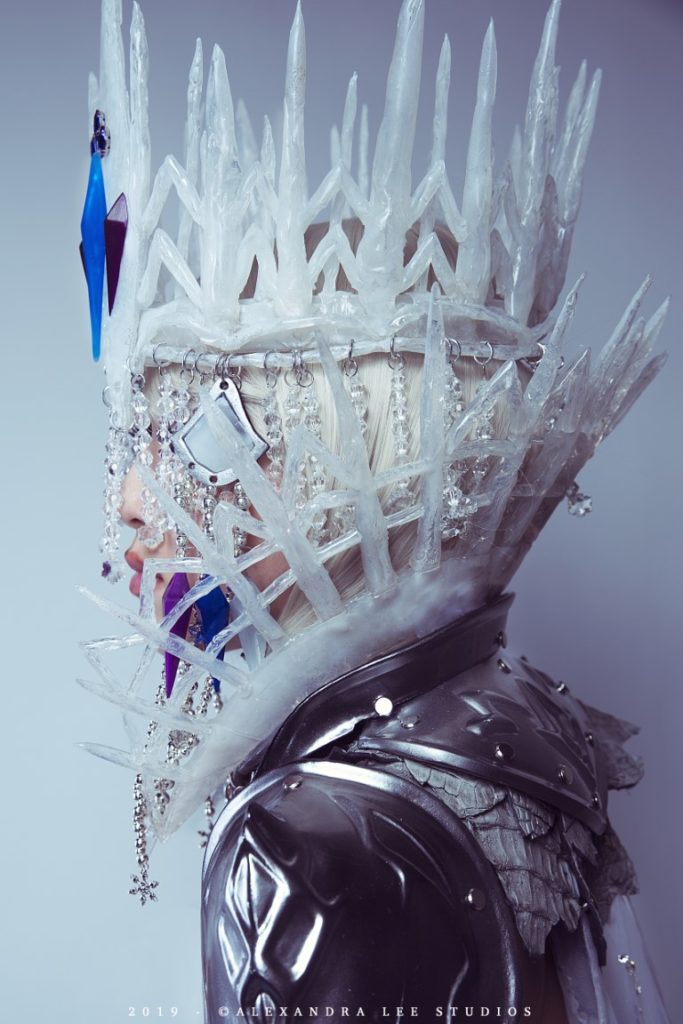
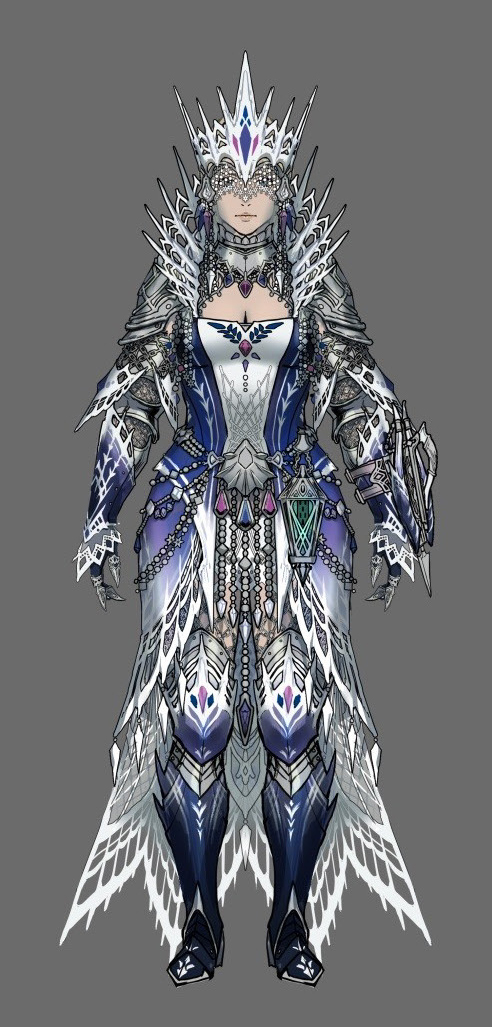
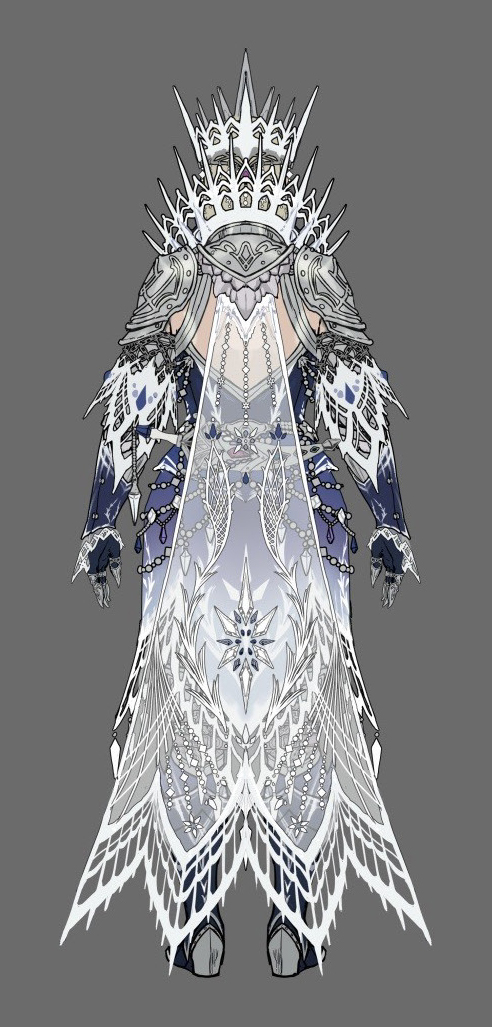
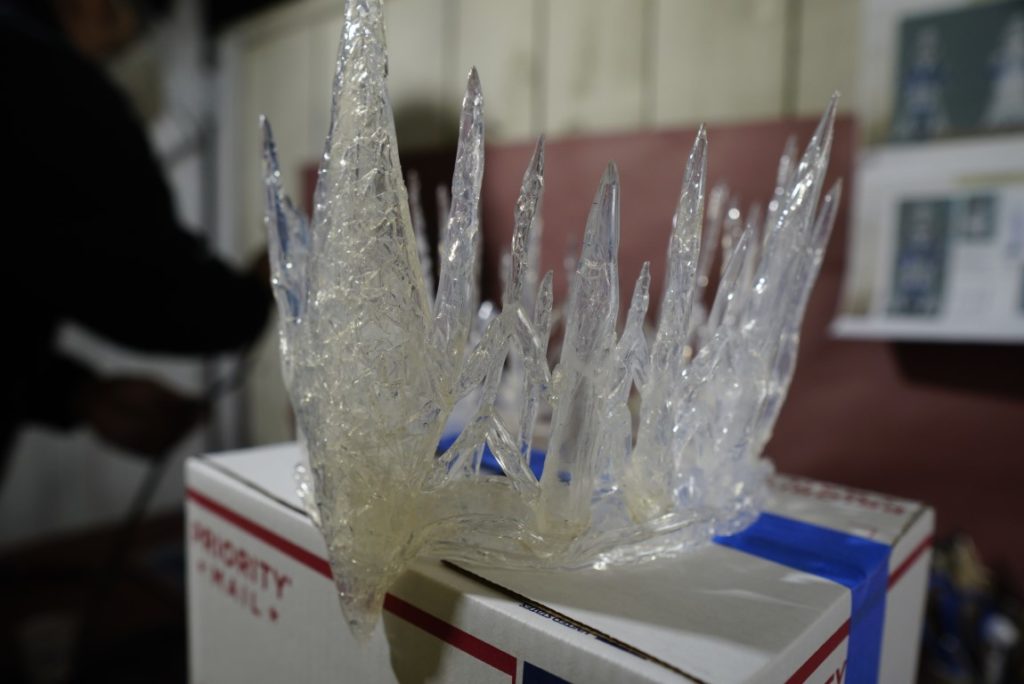
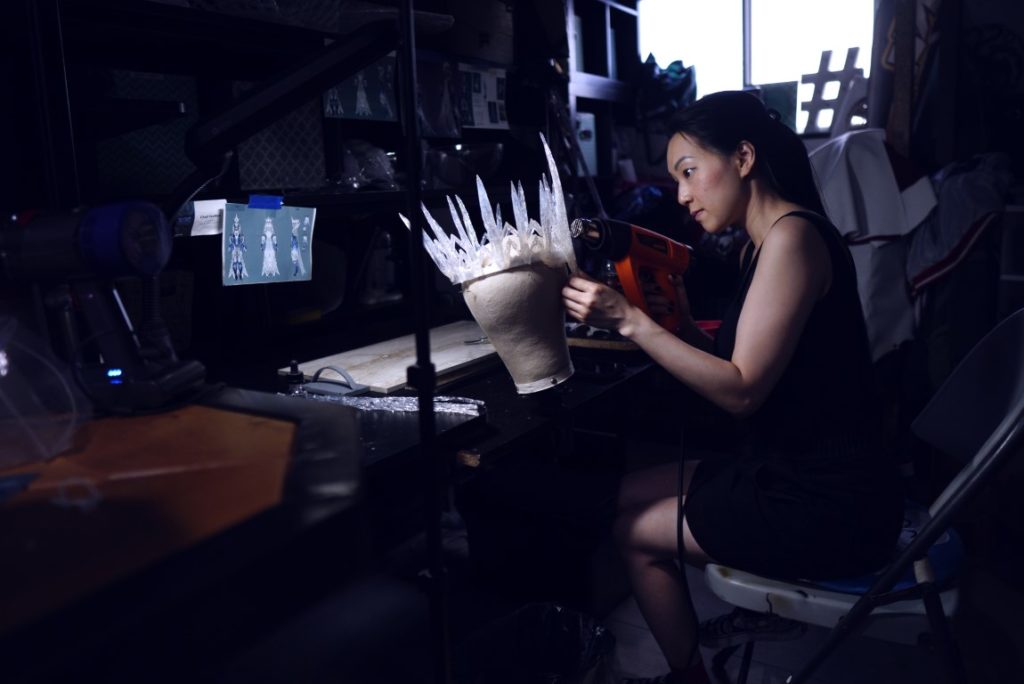
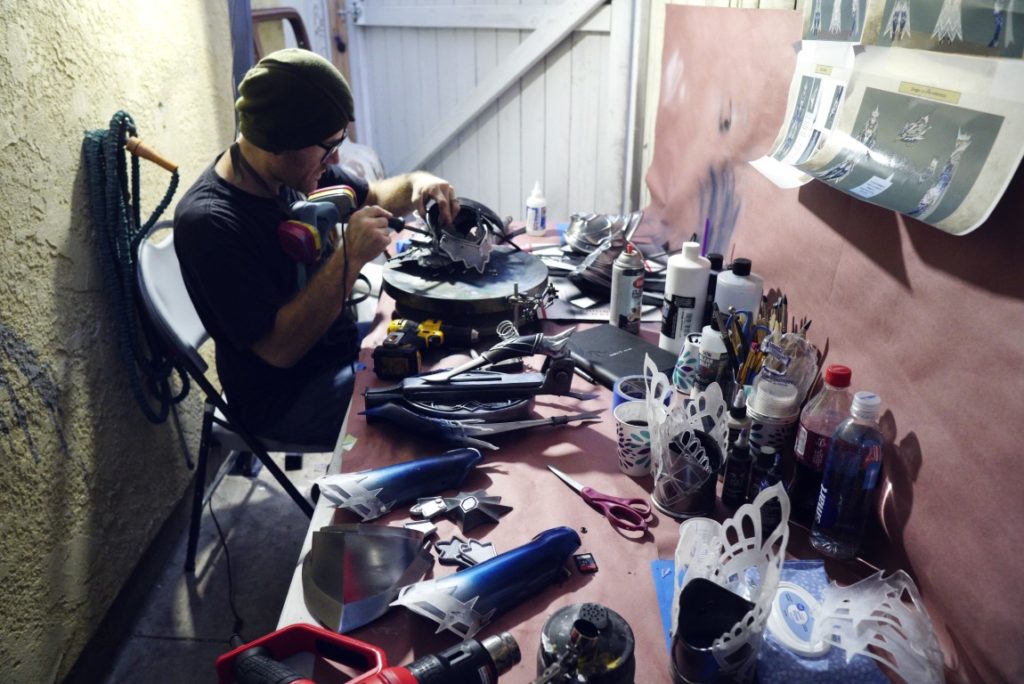
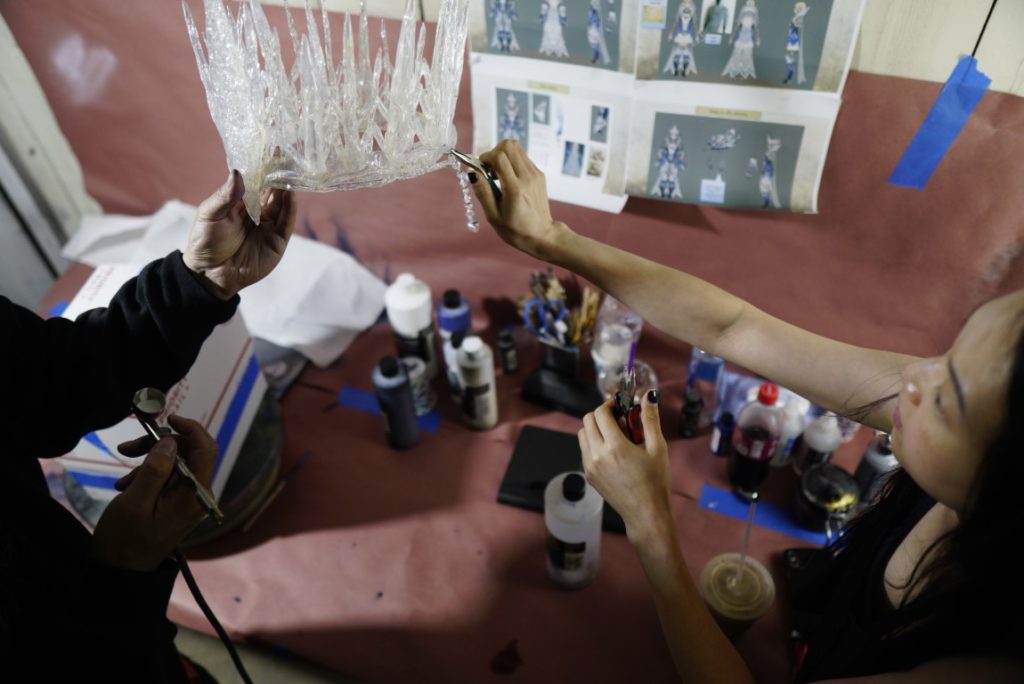
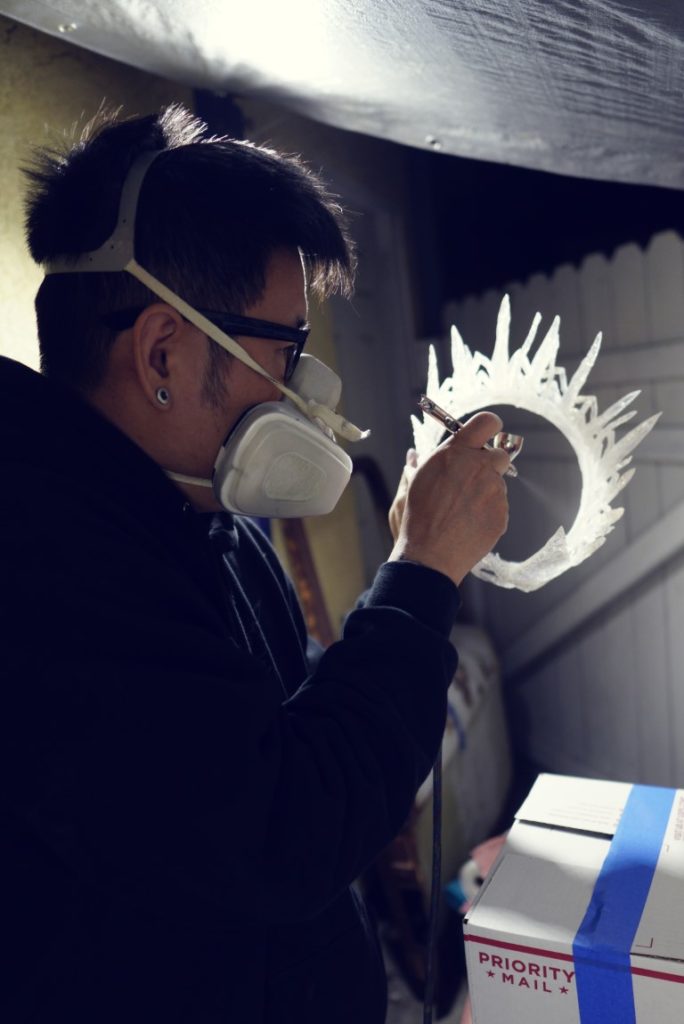
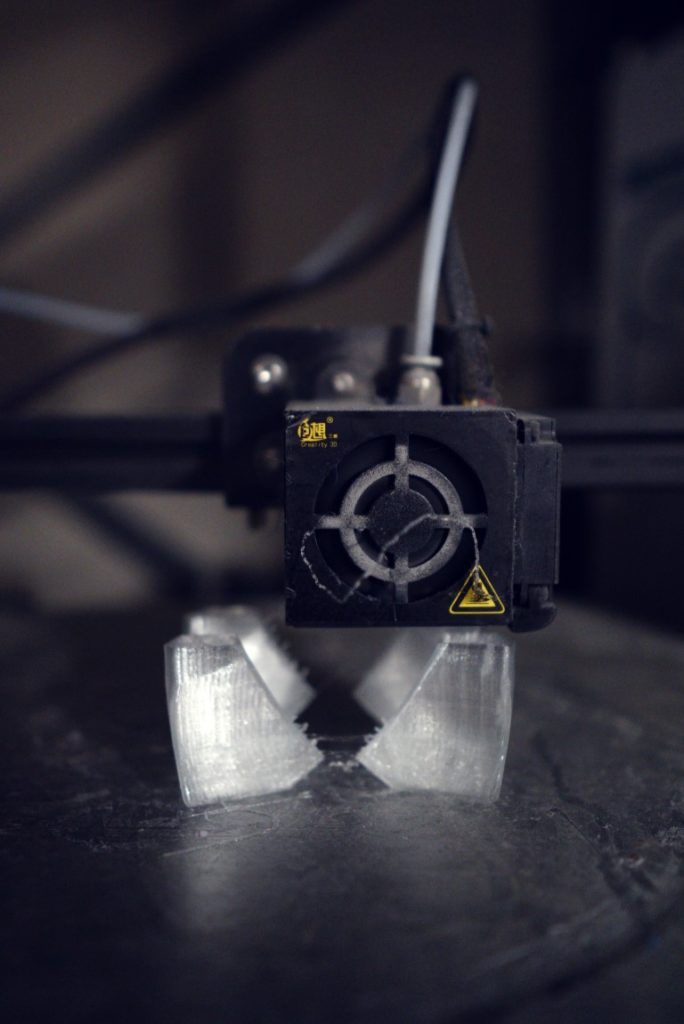
The great rolling of Ice
The ice was made using a combination of 3D printed Clear Pet-g base structure and then clear Worbla was heated, rolled, and formed into ice spikes/icicles and formed into the crown and collar. This gave us the structure we needed at its core and a nice organic exterior surface that resembled the look of ice.
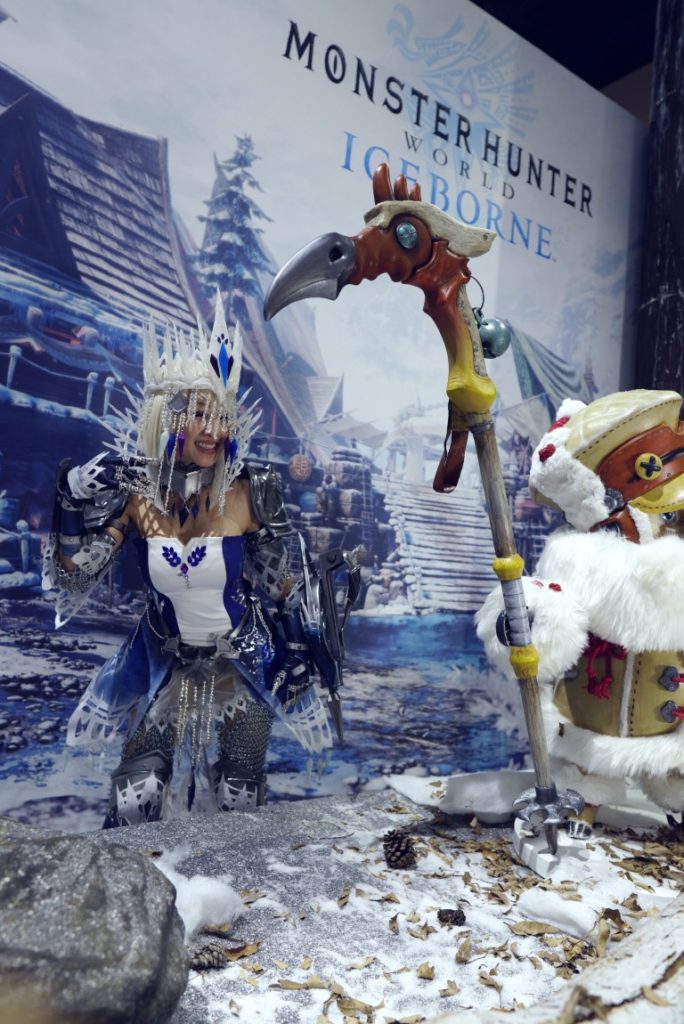
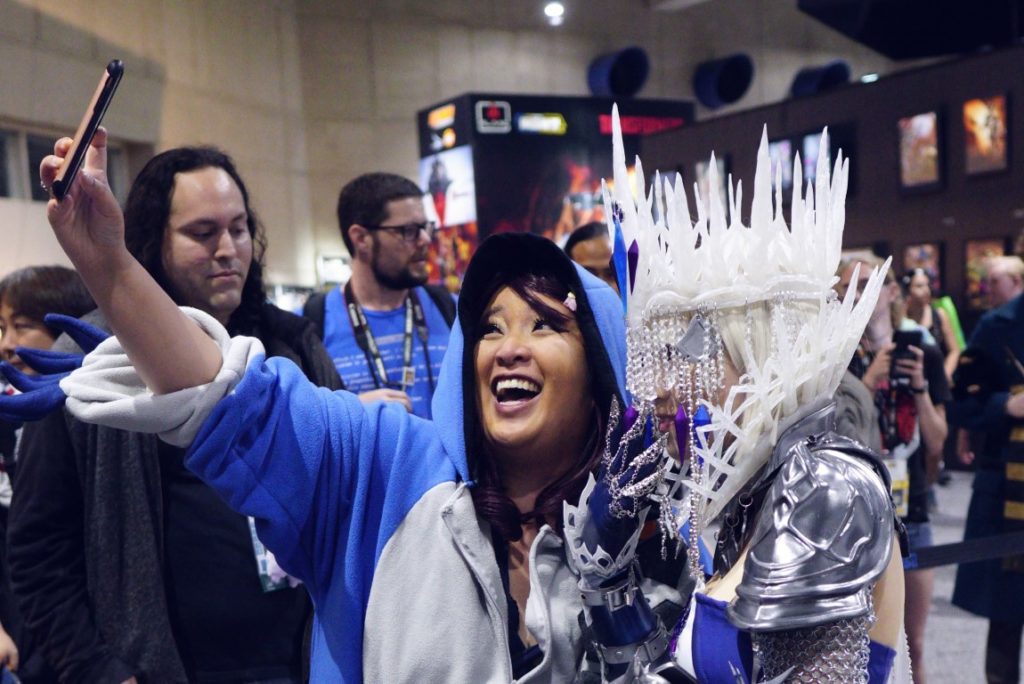
San Diego Comic Con 2019
Now with the costume finished and ready to wear we were ready to display the finished Valkhana armor at Capcoms main booth. Vampybitme awed the crowd with her welcoming smile and bright laughter.
The Edit:
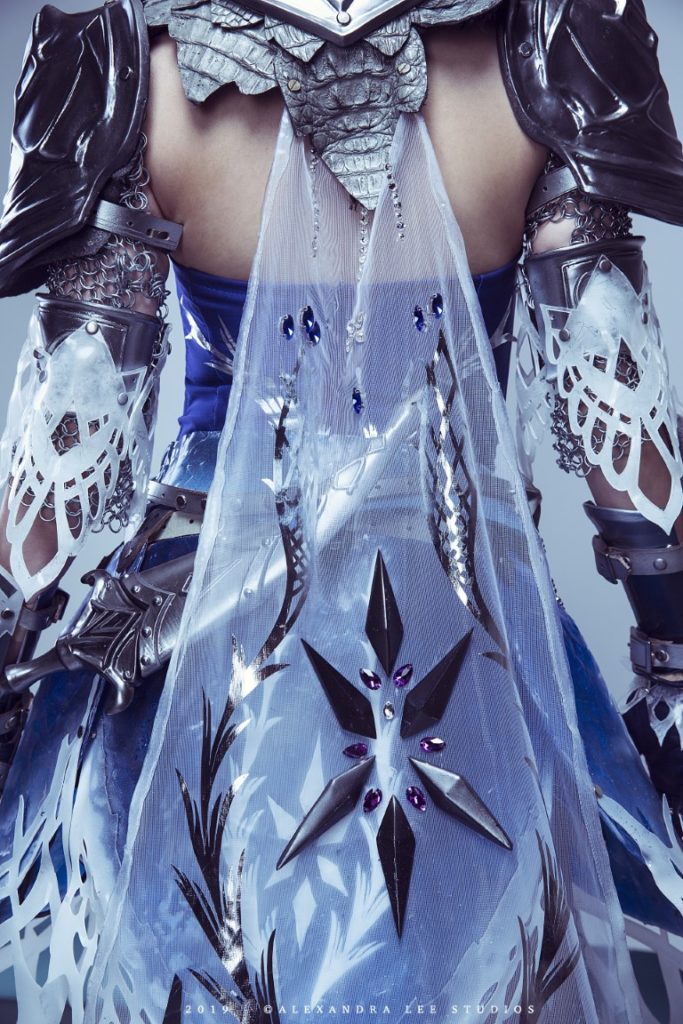
The final costume was shot at Wonderland Studios in Anaheim, California
Alexandra Lee Studios was our photographer and she did an outstanding job not only directing us and then finally editing the photos.
Personal Note:
This project was only possible through the hard work of all the individuals involved. The short turn around on this project required additional outside help and so a big thank you to Linda(Vampybitme), Jesse(Jryuart), Davey, and Lauren of (Woodwarder Props), Jason and Melissa of (Kurokami Props), and other friends Taft, Dan, and others.
also, NO VELKHANAS WERE HARMED IN THE MAKING OF THIS ARMOR. Thanks for reading everyone and be sure to tune back in when we upload our Making of Velkhana BTS video on Youtube. For other videos check out our Youtube at http://www.youtube.com/hokuprops
This website uses cookies to improve your experience. We'll assume you're ok with this, but you can opt-out if you wish. Cookie settingsACCEPT
Privacy & Cookies Policy
Privacy Overview
This website uses cookies to improve your experience while you navigate through the website. Out of these cookies, the cookies that are categorized as necessary are stored on your browser as they are essential for the working of basic functionalities of the website. We also use third-party cookies that help us analyze and understand how you use this website. These cookies will be stored in your browser only with your consent. You also have the option to opt-out of these cookies. But opting out of some of these cookies may have an effect on your browsing experience.
Necessary cookies are absolutely essential for the website to function properly. This category only includes cookies that ensures basic functionalities and security features of the website. These cookies do not store any personal information.
Any cookies that may not be particularly necessary for the website to function and is used specifically to collect user personal data via analytics, ads, other embedded contents are termed as non-necessary cookies. It is mandatory to procure user consent prior to running these cookies on your website.

")
")